Carnival Photography….it’s harder than you think.
Becoming a blogger has been a wonderful experience for me. It has allowed me to do more than just experience carnival, but to also attempt to bring that experience, which I love, to all of my readers. I have never been much of an eloquent speaker, or writer. I tend to write my blog posts while tired, late at night, off the top of my head (yes, my fans, that explains a lot eh?).
I have found however that the saying, “A picture is worth a thousand words”, rings true even more today than when the quote was coined. I have, even more than writing, enjoyed the photography. Though I use almighty google images to find alot of my images, I also rely heavily on my own private stock of photographs. I have moved from iPhone photos to a tiny canon elph, to my trusty Panasonic LX5. I can honestly saying that the panasonic is the best camera I have ever owned. Even better than the Sony Alpha DSLR I used to have.
I know that many of you, like me, want to capture your carnival experiences with images that are better than what the generic, obviously cheap-o, cameras can get you. I also know that many of you also don’t know the intricate details behind the stunning images you see photographers produce (and may not care to know either). This post is dedicated to you. Today I will try my best to explain what little I have learned in the last few months while trying to get my own photos in easy to understand terms.
The “EYE”
The first thing is that good photography is more than simply buying a million dollar device. You need to have “the eye”. It takes practise and many shots may surprise you.
Subjects you thought looked good may suck in the final analysis and crap you took just for the hell of it comes out like a work of frikkin art. Thats how it goes. Until you develop your “eye”, buy the biggest memory card! Shoot everything!
Time management!
 Probably the most important part of carnival photography for me was balancing the photography with partying. It is inexcusable to travel thousands of miles and spend untold sums of money to be only running around shooting. You have to know when to turn off the camera and hold a wine. It’s a delicate balancing act that simply takes practice. You have to literally balance the chance of getting a good shot with the chance of getting a good wine. When you become a veteran you may eventually start doing both simultaneously. Be warned though that the best results at each are attained when done individually.
So, now you have the “eye”, you also have the time/wine management skills, whats next?
Your “Equipment”
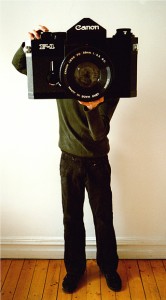
Bigger is better! (But there IS such a thing as too big:)
This is the part that separates, the men from the boys, and also the rich from the poor. There is almost literally no limit on how much money you can spend on good equipment.
For me it is really a balancing act between image quality and especially low light capability and size.
I for one REFUSE to carry around a behemoth bazooka style camera no matter how many gigapixels it can shoot. The average Canon DSLR may feel managable at first but in half hours time your biceps start to burn from holding that baby. On top of that, the big cameras require neck straps to hold them and that’s a problem. The neck straps inevitably scrape away the sunblock from the “neckback” region, which also happens to be the part of your body the sun LOVES to burn.
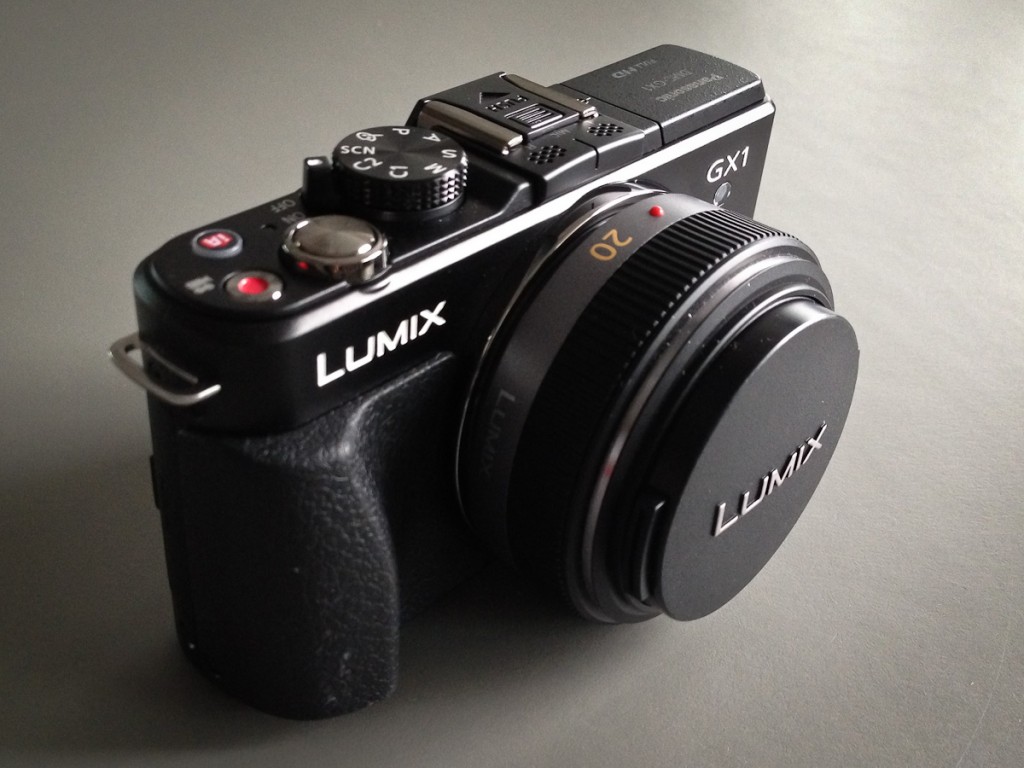
I have decided that for the balance of picture quality and size my next camera will be one of several Micro four thirds (m4/3) cameras made by Panasonic or Olympus. UPDATE: I’m actually going to buy a Sony nex 5n!
The important things to know about these cameras is they offer significantly better picture quality than a point and shoot due to a larger sensor but are only slightly larger than a point and shoot.
You should learn the basics of why larger sensors are better!
LENSES
 Lenses are the next step. There are over 100 lenses to choose from for most major DSLR makers. For micro four thirds that number is about 30. This number is growing quickly though due to the popularity of these cameras. The m4/3 lenses can be a bit bulky but they are all smaller than their equivalent full size lenses. Important things to know for the m4/3 lenses
- The focal length (basically the zoom factor) for m4/3 lenses must be multiplied by 2 to get the equivalent focal length for a DSLR.
- The “speed” of a lens is extremely important. This is the F/#. It’s written on the front of all the lenses. You WANT a lens that is “fast”. Fast lenses have smaller F numbers. A fast lens has a bigger opening (aperture) behind the glass to let light in. That results in brighter night images as well as better Bokeh (more on that later).
- The size of the lens is often tied to the first 2 factors, but remember, you want models that don’t “bazookify” your camera. You can easily accomplish this by spending a crap load of money on a smaller Prime (non-zooming) lens.
Bokeh
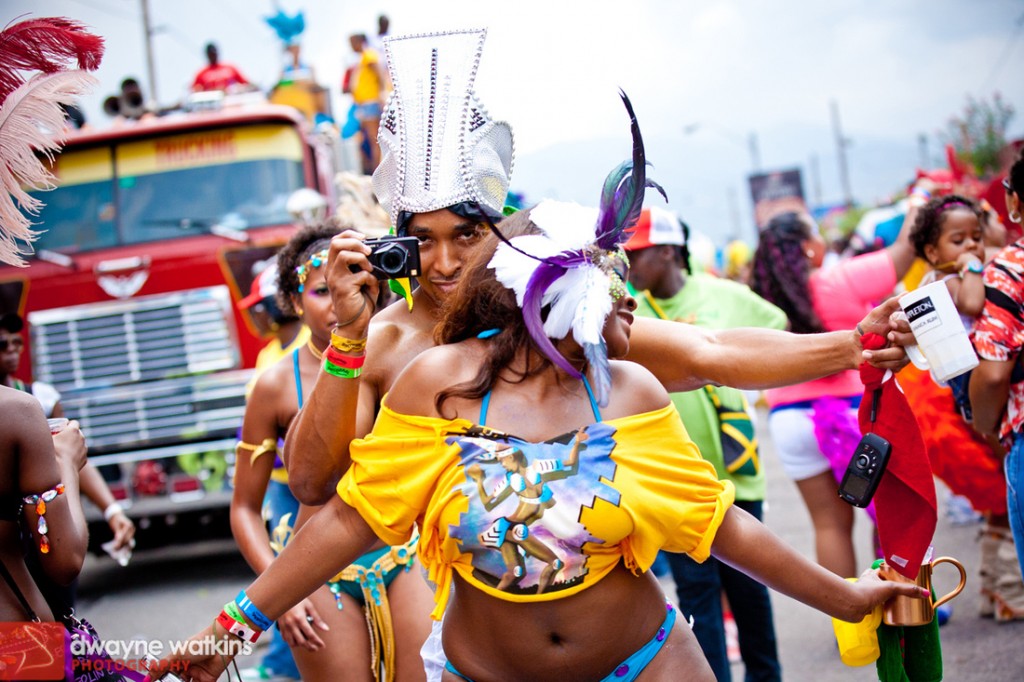
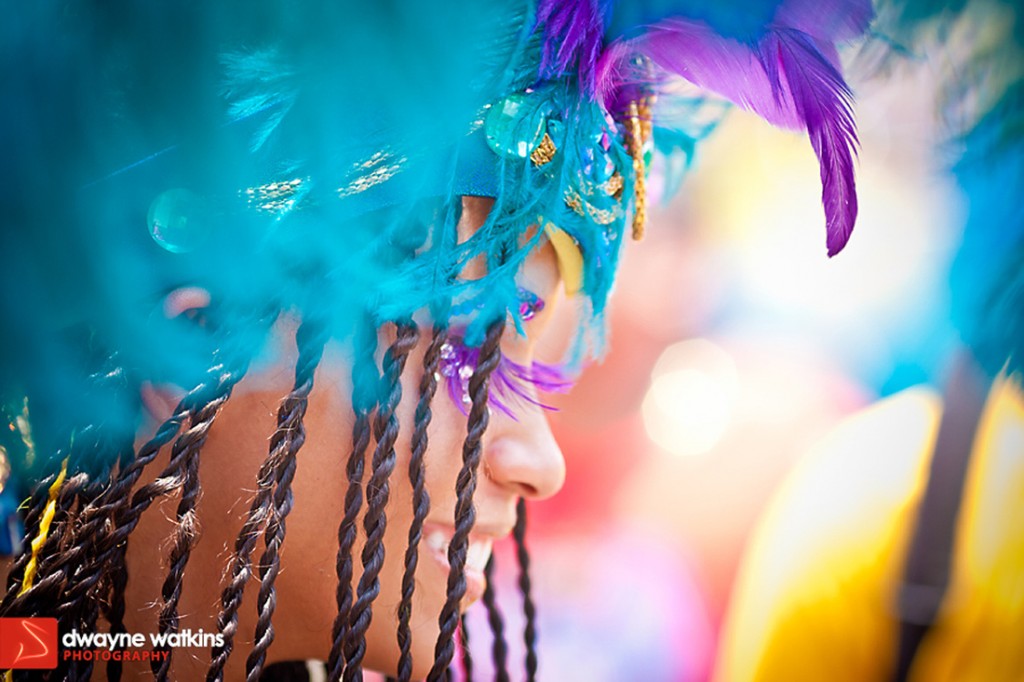
This is the REAL reason I decided to step up my photography game. I have literally stood beside photographers and shot the same carnival subject and my photo looks cheap and theirs looks like a slice of heaven.
The reason is Bokeh.
Its the blurryness of the background (and sometimes foreground) that causes you to focus on the subject of the photo (cause its the only thing in focus). It cannot make a great photo by itself, and is sometimes not needed, but DAMN it looks good. You get bokeh most easily by shooting with a fast lens with the aperture wide open. Another factor that helps Bokeh is moving the background further back from your subject.
Post Processing
 Now you have your criss criss camera. You want to get the BEST out of it. First buy Aperture (mac) or Lightroom (pc) and use youtube to watch tutorials on how to use it properly.
Next. Shoot in RAW instead of JPG.
Most cameras will collect the image and send the information through a processor that will make the a JPG image. This image is compressed so that it is significantly smaller on your memory card. A RAW image is basically the data collected from the camera sensor put directly on the memory card. Its a lot more information but allows you much more flexibility to fix your photos. For example, Carnival is usually out in the blazing sun. As such you often overexpose parts of your photos (especially the sky). Shooting with RAW (as well as exposure compensation turned down a bit) will allow you to save those blown highlights and get a photo with a greater dynamic range (prettier).
There are MANY youtube tutorials to help you with your photo editing software, whichever you choose.
In the end you get carnival photos that look fantastic, whether they be for simply sharing on facebook or for printing.
I hope this has been interesting to a reader or two as I for one enjoyed writing it.
Is your equipment big enough?




The Sony nex 5n is in the lead now. A bit bigger but I have to agree with wiggz that overall its better.
Until later this summer I will keep my options open. The Sony has a larger sensor and has gotten good reviews but the issue for them is 1. the price 2. the lens selection. 3. The cumbersome lens sizes making them a bit difficult to carry around on the road.
I have to note that I need to test them out hands on rather than reading reviews to help me decide.
I may even stretch my budget and go with an Olympus OM-D E5.
July will be when I travel and when the final decision will have to be made:)
If you going mirrorless you should consider the Sony nex series or a mirrors camera with and aps c sensor… you will get a better picture than micro four thirds cuz u have a dslr sized sensor
THANKS for this post. I have been blogging for about a year and recently found myself deciding if I was going to stop or keep going! In the end I decided if I was going to keep going then I needed to step up my game. This includes getting a REAL camera. I had no clue where to start….but this post has been a great help.